What does a Flutter code structure look like to a beginner? - An Introduction
Understand what to expect when writing and reading Flutter code by learning how Flutter works in a simple, digestible approach.


Back when I started learning Flutter app development many years ago, I was surprised at how the code structure of Flutter was presented. When I learned that you only need Dart code to make Flutter apps, this concept of a single language to encompass both View logic and Business Logic was foreign to me.
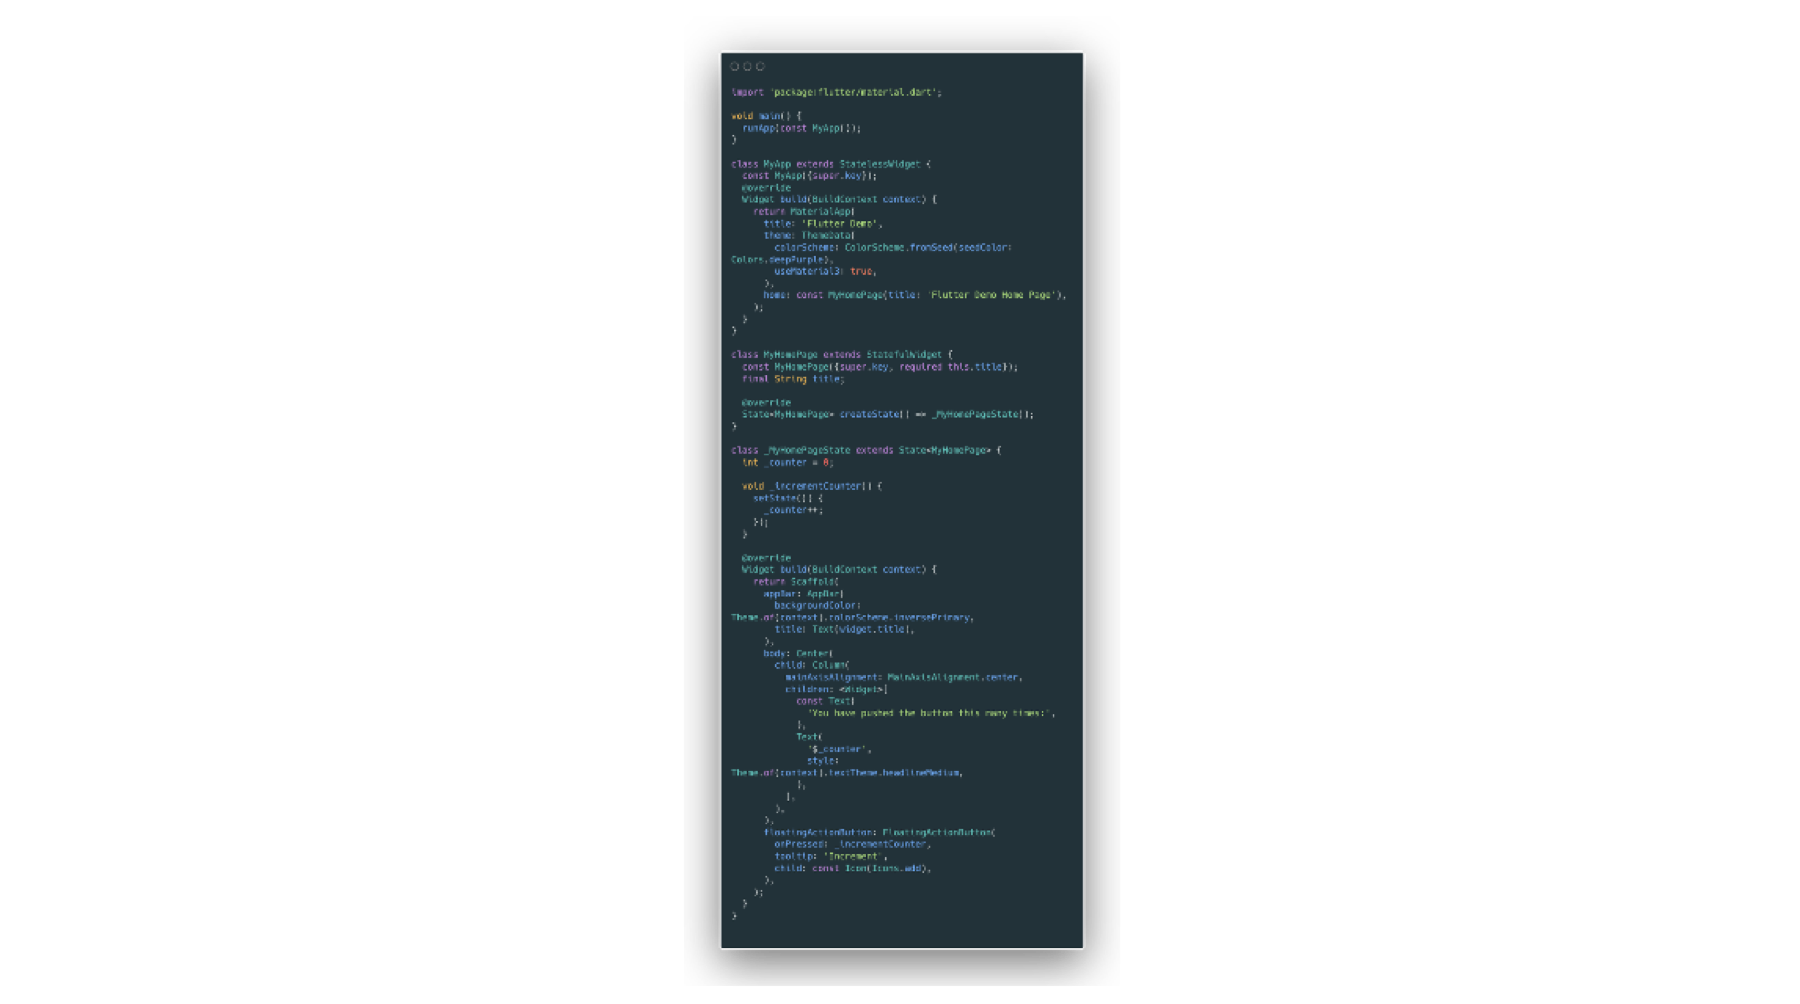
The first time I looked at the Hello World Flutter code example, I shrugged my head and said to myself how absurd this is. Because I was a more naive developer back then, looking at the hello world app in one file, and in one language made me think how bad this design was.
Of course, I was wrong. Not only can you separate these logic blocks cleanly, but this design decision also made Flutter one of the easiest app-development frameworks to learn these days.
This Nested Flutter Code
It's great to look at a source code that clearly tells you exactly what it does. Let's look at an example of a UI element I wrote using Flutter.
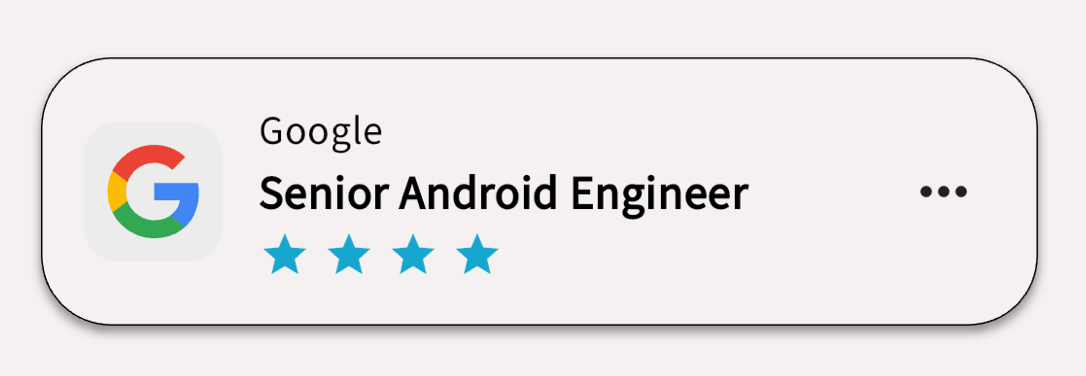
Now, without knowing how to read or write Dart code or not knowing what a Widget is, let's see if you can understand this nested code and what it represents.
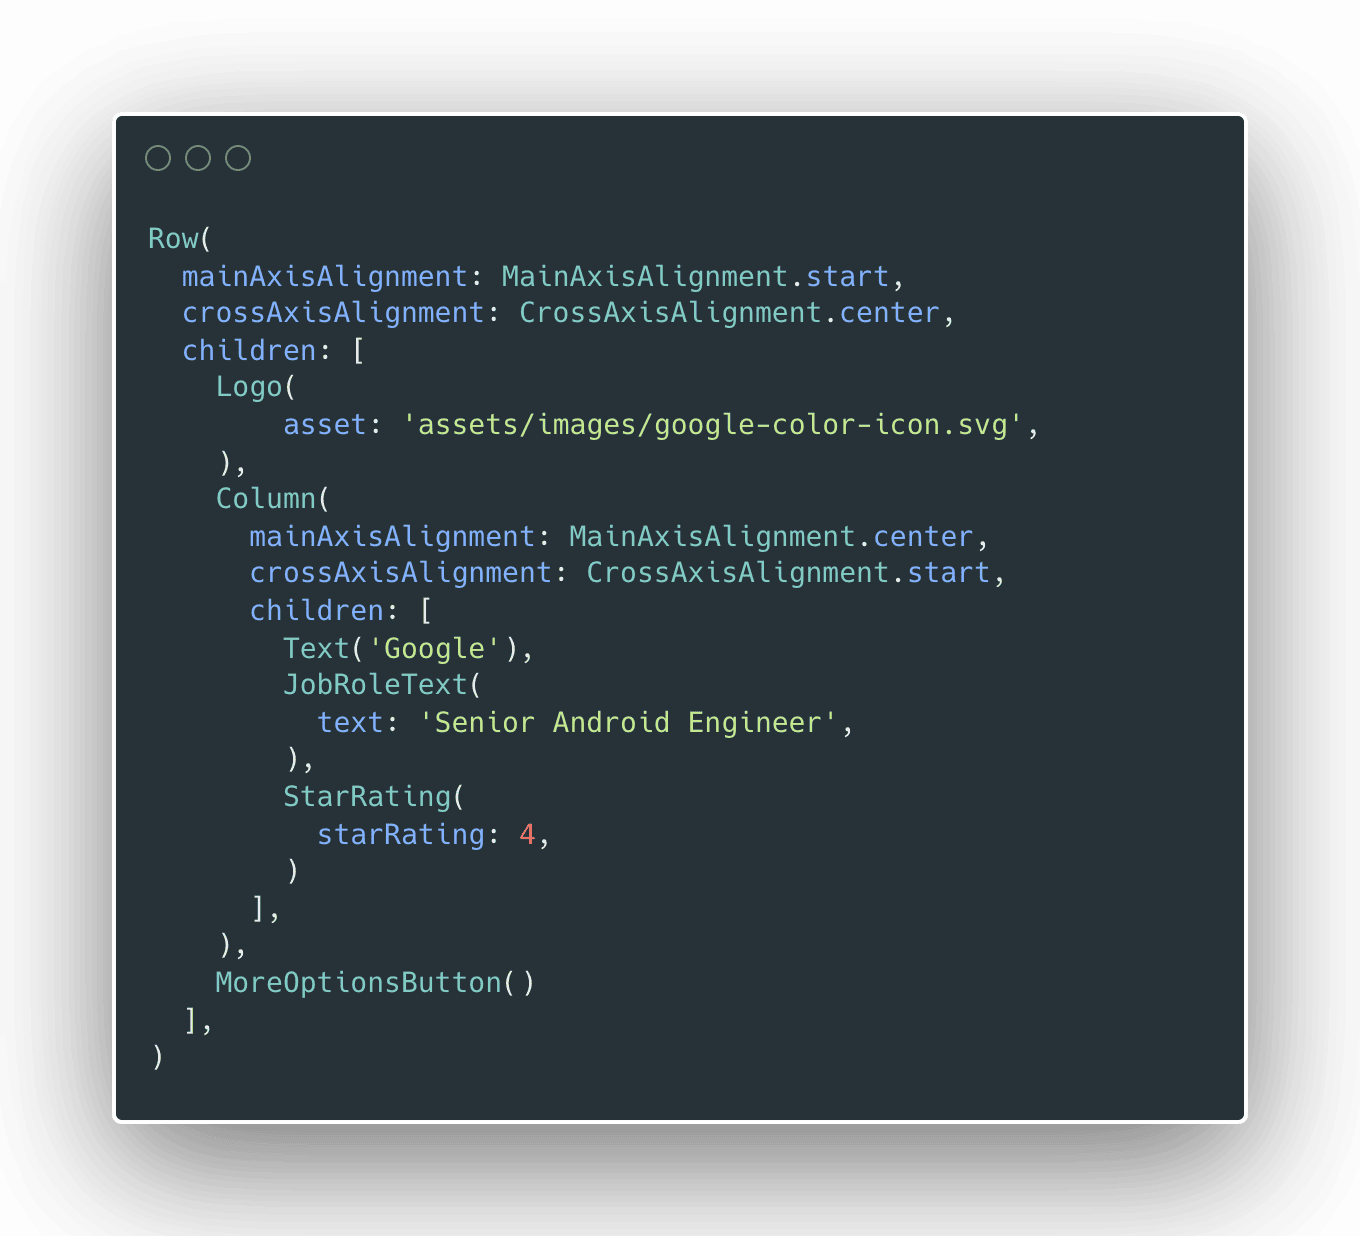
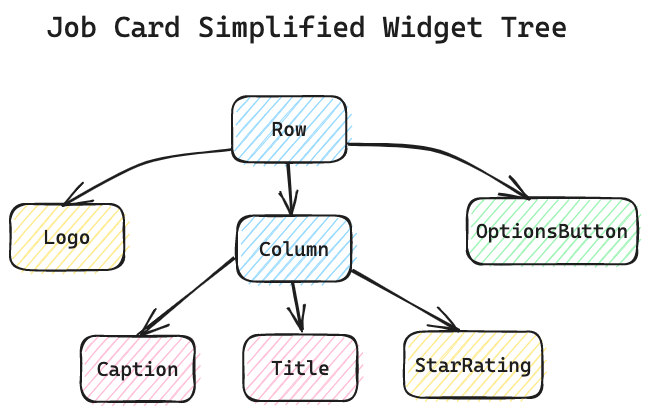
To me, this code is straightforward when it comes to telling me how this job advertisement card is implemented. It is a nest of objects where each object can have a child or children if it is more than one. A Row arranges its children horizontally, a Column vertically, and so on.
 Rafael Delos Santos
You might already have a clue, but the StarRating object there is made of a few nested objects as well.
Thinking back on my first look at the Hello World example from the Flutter team made me realise that any code can be refactored and improved to be more readable and reusable.
Widgets everywhere
Another popular saying in the Flutter community is "Everything in Flutter is a Widget". While it is not technically 100% true, there is still some truth to that.
A Flutter Widget is the basic unit of the user interface in Flutter. It can be described as a unit of composition and the building block of a Flutter app. Almost everything that you see in a Flutter app is a Widget.
Using the example above, the Row, Column, and so on are Widgets. The way they are arranged together, the nesting of parent and child Widgets, is called a Widget Tree.
It is important for us developers to know this tree structure because we will need to pass data from one Widget to another, and knowing how our app is structured helps us plan how to do so.
This widget tree also plays a significant role when it comes to speed and memory optimisation. This involves two more sets of trees called Element Tree and RenderObject Tree, but is out of scope and will be discussed in another article.
Flutter's Composability
Take a look again at our job card code and widget tree. It is very much simplified and is composed of a few widgets. The Flutter framework was designed with the composition and reusability of Widgets in mind. Of course, there are proper ways to nest Widgets but for now, it is best to understand that you can.
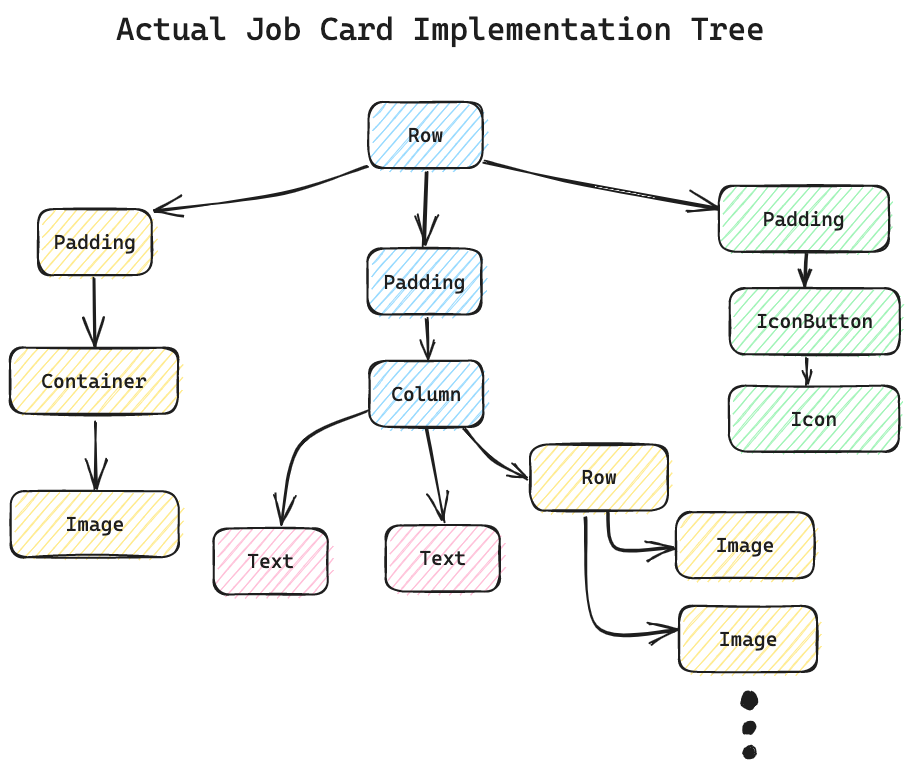
Some of the widgets that you see in the job card widget tree were built from other widgets. The StarRating widget for example is implemented using a Row with children composed of Image widgets.
While this is a common pattern that you'll see in general software design, Flutter under the hood has its own optimisations in which changing a widget's state may or may not rebuild the other widgets in the tree. (See Frederik's layer cake explanation for a deep-dive explanation).
User Input
The last thing I want to talk about is how Flutter handles user inputs such as button clicks, scrolls, drag, and so on. Widgets such as Button can accept input through an onAction() function callback which varies depending on which input Widget you use.

For widgets that don't have user inputs, one can just wrap this widget around with something like a GestureDetector widget, and decide which inputs you want your widget to receive.
Closing remarks
There is so much ground to cover in Flutter, like changing a Widget properties such as changing colour, size, and text (hint: Flutter state management) and we will discuss that eventually. I hope you learned something from this short introductory article about what a Flutter code structure looks like.
If you are new to Flutter or someone who is interested to jump into Flutter development, I guarantee that you will have a pleasant experience learning and building apps that are ready to be deployed on mobile devices, desktop devices, and even the web.
I did not cover enough ground in this introduction but if you want to learn more about writing your own cross-platform apps or even building a career from it, subscribe to themobilecoder if you haven't and receive all the tutorials you need to get started.