Flutter navigation with go_router package
Learn how to use the go_router navigation library in your Flutter app for moving from one screen to another.

Apps of different sizes and scale have more than one screen to display from the main screen to the other parts of the app. One of the most used libraries for navigation in Flutter is go_router.
In this tutorial, we will learn how to use go_router in our Flutter app to move from one screen to another.
Installation
To add the go_router package, use the command:
flutter pub add go_router
Another way to install manually is to add the following to your pubspec.yaml.
dependencies:
  flutter:
    sdk: flutter

  cupertino_icons: ^1.0.2
  go_router: ^13.2.0 # < Add this
Now that everything has been set up, let's go with the configuration.
Defining our Screens
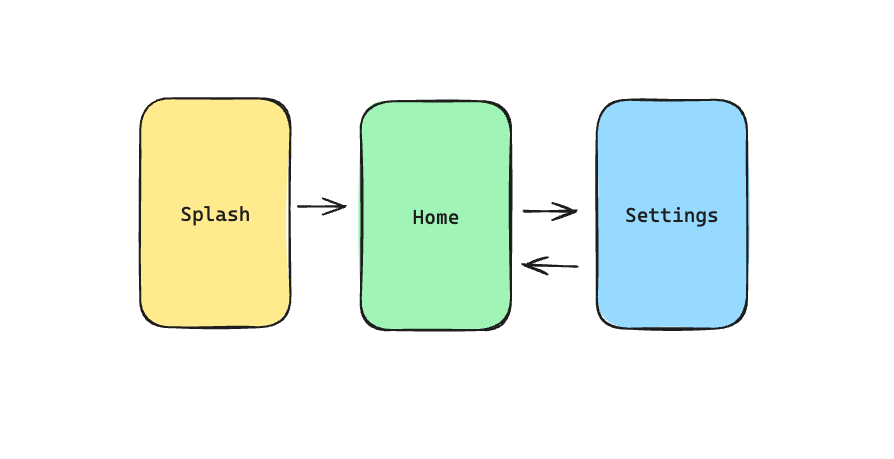
In our example, we can have three hypothetical screens: Splash screen, Home screen, and Settings screen.
// splash_screen.dart

import 'package:flutter/material.dart';

class SplashScreen extends StatelessWidget {
  const SplashScreen({super.key});

  @override
  Widget build(BuildContext context) {
    return Scaffold(
      body: Container(
        color: Colors.amber[300],
        child: const Center(
          child: Text('Splash'),
        ),
      ),
    );
  }
}
//home_screen.dart

import 'package:flutter/material.dart';
import 'package:go_router/go_router.dart';

class HomeScreen extends StatelessWidget {
  const HomeScreen({super.key});

  @override
  Widget build(BuildContext context) {
    return Scaffold(
      appBar: AppBar(
        backgroundColor: Colors.green[300],
        actions: [
          IconButton(
            onPressed: () {
              //TODO:
            },
            icon: const Icon(Icons.settings),
          )
        ],
      ),
      body: Container(
        color: Colors.green[300],
        child: const Center(
          child: Text('Home'),
        ),
      ),
    );
  }
}
// settings_screen.dart

import 'package:flutter/material.dart';

class SettingsScreen extends StatelessWidget {
  const SettingsScreen({super.key});

  @override
  Widget build(BuildContext context) {
    return Scaffold(
      body: Container(
        color: Colors.blue[300],
        child: Center(
          child: Column(
            children: [
              const Text('Settings'),
              OutlinedButton(
                onPressed: () {
                  //TODO:
                },
                child: const Text('Go Back'),
              )
            ],
          ),
        ),
      ),
    );
  }
}
Route Configuration
We'll start with the basics first. Let's say we have an app with multiple screens. In this case, we have a splash screen, a home screen, and a settings screen.
Whenever we launch our application, we see the settings screen first and should navigate next to the home screen.
To set this up, we need to create a GoRouter configuration class.
//router_config.dart

import 'package:go_router/go_router.dart';
import 'package:navigation_with_go_router/home_screen.dart';
import 'package:navigation_with_go_router/settings_screen.dart';
import 'package:navigation_with_go_router/splash_screen.dart';

GoRouter routerConfig = GoRouter(
  routes: <RouteBase>[
    GoRoute(
      path: '/',
      builder: (context, state) {
        return const SplashScreen();
      },
    ),
    GoRoute(
      path: '/home',
      builder: (context, state) {
        return const HomeScreen();
      },
    ),
    GoRoute(
      path: '/settings',
      builder: (context, state) {
        return const SettingsScreen();
      },
    ),
  ],
);
We can put this anywhere in the project, but I would personally put this on a separate file such as router_config.dart for code separation.
A GoRouter class has a parameter routes: where we can define a list of paths or destinations to our app navigation. The path with a / value means that this is the starting screen of the app. In this case, we show the SplashScreen.
The other destinations are HomeScreen and SettingsScreen which are reached through paths /home and /settings respectively.
The next thing to do is to set up our app to use this route configuration. This is done by changing either MaterialApp or CupertinoApp to use the router constructors: MaterialApp.router() or CupertinoApp.router().
In the following example, MyApp is using a MaterialApp, so I will use its equivalent constructor for the router.
//my_app.dart

import 'package:flutter/material.dart';
import 'package:navigation_with_go_router/router_config.dart';

class MyApp extends StatelessWidget {
  const MyApp({super.key});

  @override
  Widget build(BuildContext context) {
    return MaterialApp.router(
      debugShowCheckedModeBanner: false,
      routerConfig: routerConfig,
    );
  }
}
Lastly, make sure that main.dart is loading up MyApp.
//main.dart

import 'package:flutter/material.dart';
import 'package:navigation_with_go_router/my_app.dart';

void main() {
  runApp(const MyApp());
}
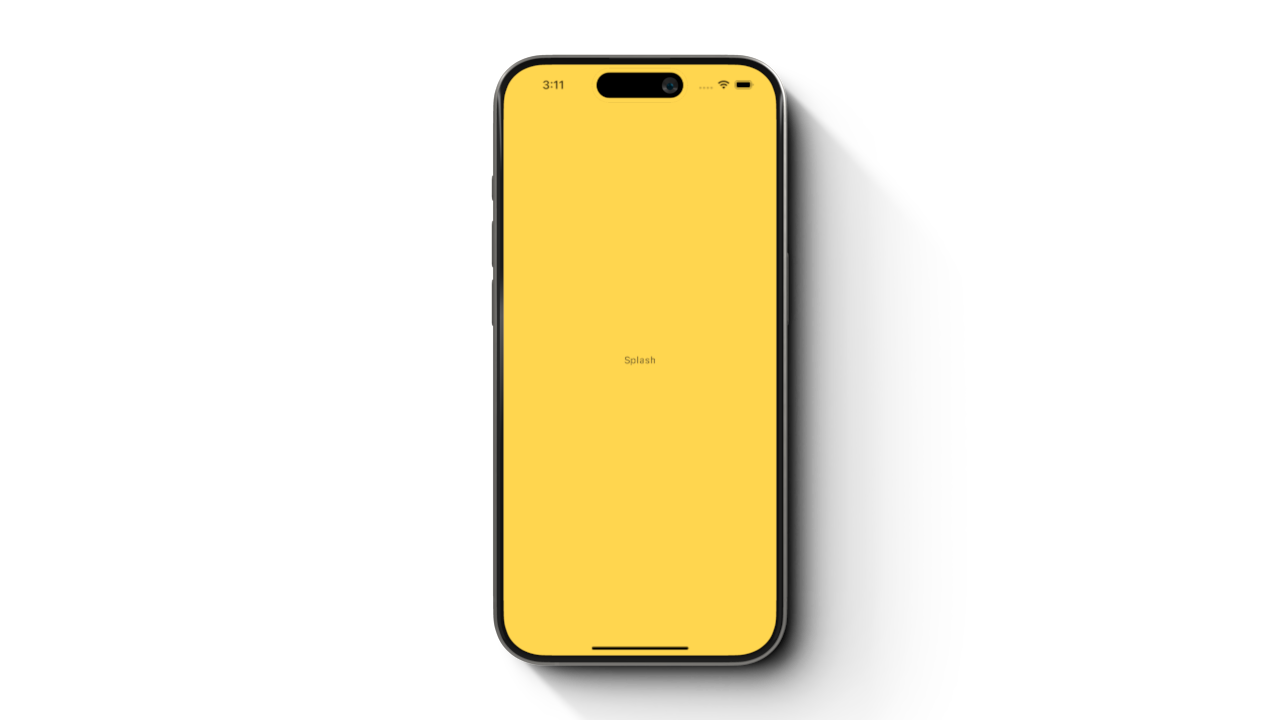
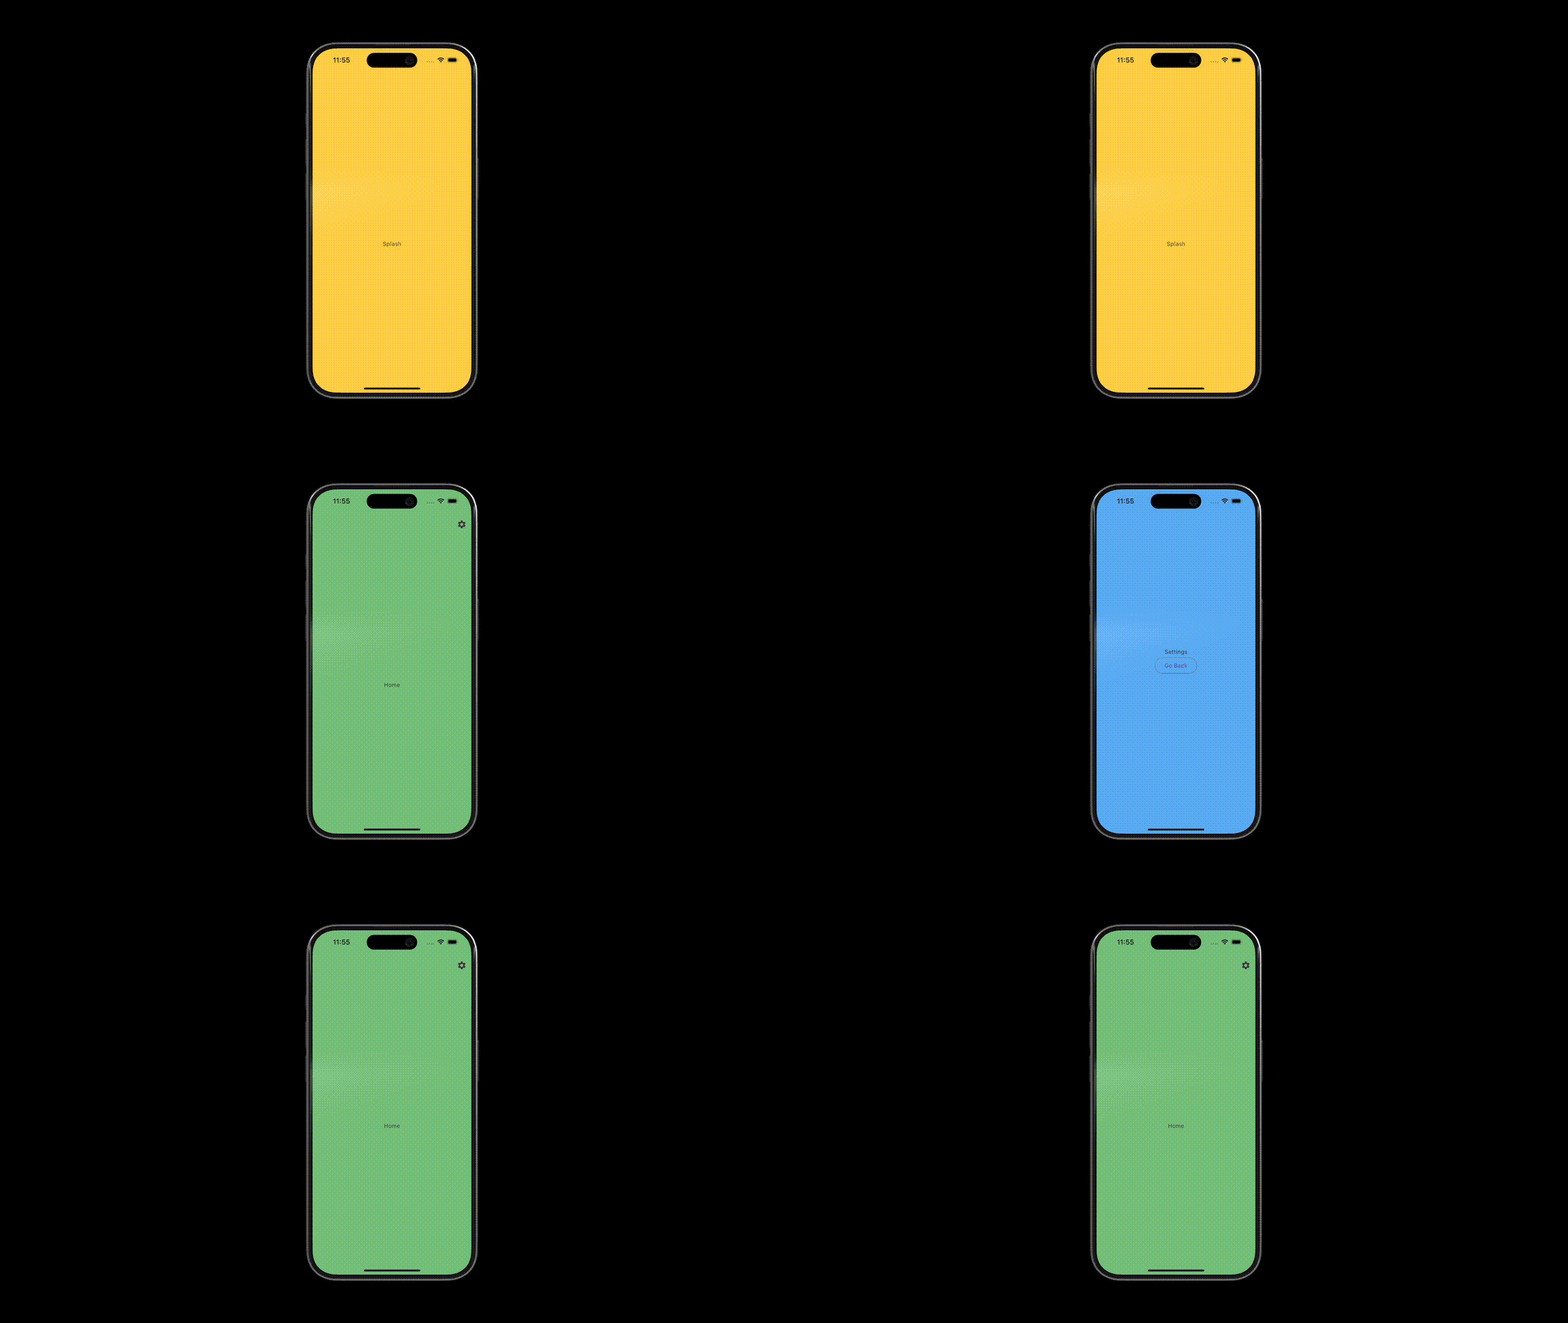
Running the app will default to showing our splash screen.
Navigating from one screen to another
There are two basic ways to navigate from one screen to another. One is using context.push() and the other is context.go().
Using context.push()
Using the context.push() API is straightforward. The destination is added on top of the current screen. Let's see what it looks like if we navigate from SplashScreen to HomeScreen using this method.
To use this method, we need access to context and the path of the destination screen. To go to HomeScreen, we need to use /home as defined in our routes_config. Let's add a tap capability in our screen to trigger a navigation using the TapRegion widget .
// splash_screen.dart

import 'package:flutter/material.dart';
import 'package:go_router/go_router.dart';

class SplashScreen extends StatelessWidget {
  const SplashScreen({super.key});

  @override
  Widget build(BuildContext context) {
    return TapRegion(
      onTapInside: (event) {
        context.push('/home');
      },
      child: Scaffold(
        body: Container(
          color: Colors.amber[300],
          child: const Center(
            child: Text('Splash'),
          ),
        ),
      ),
    );
  }
}
When we tap on any part of the the SplashScreen, it will trigger context.push('/home') and navigate to HomeScreen. Swiping back or tapping the back button navigates back to the SplashScreen. It works like this because using the context.push() method retains the stack order of the screens.
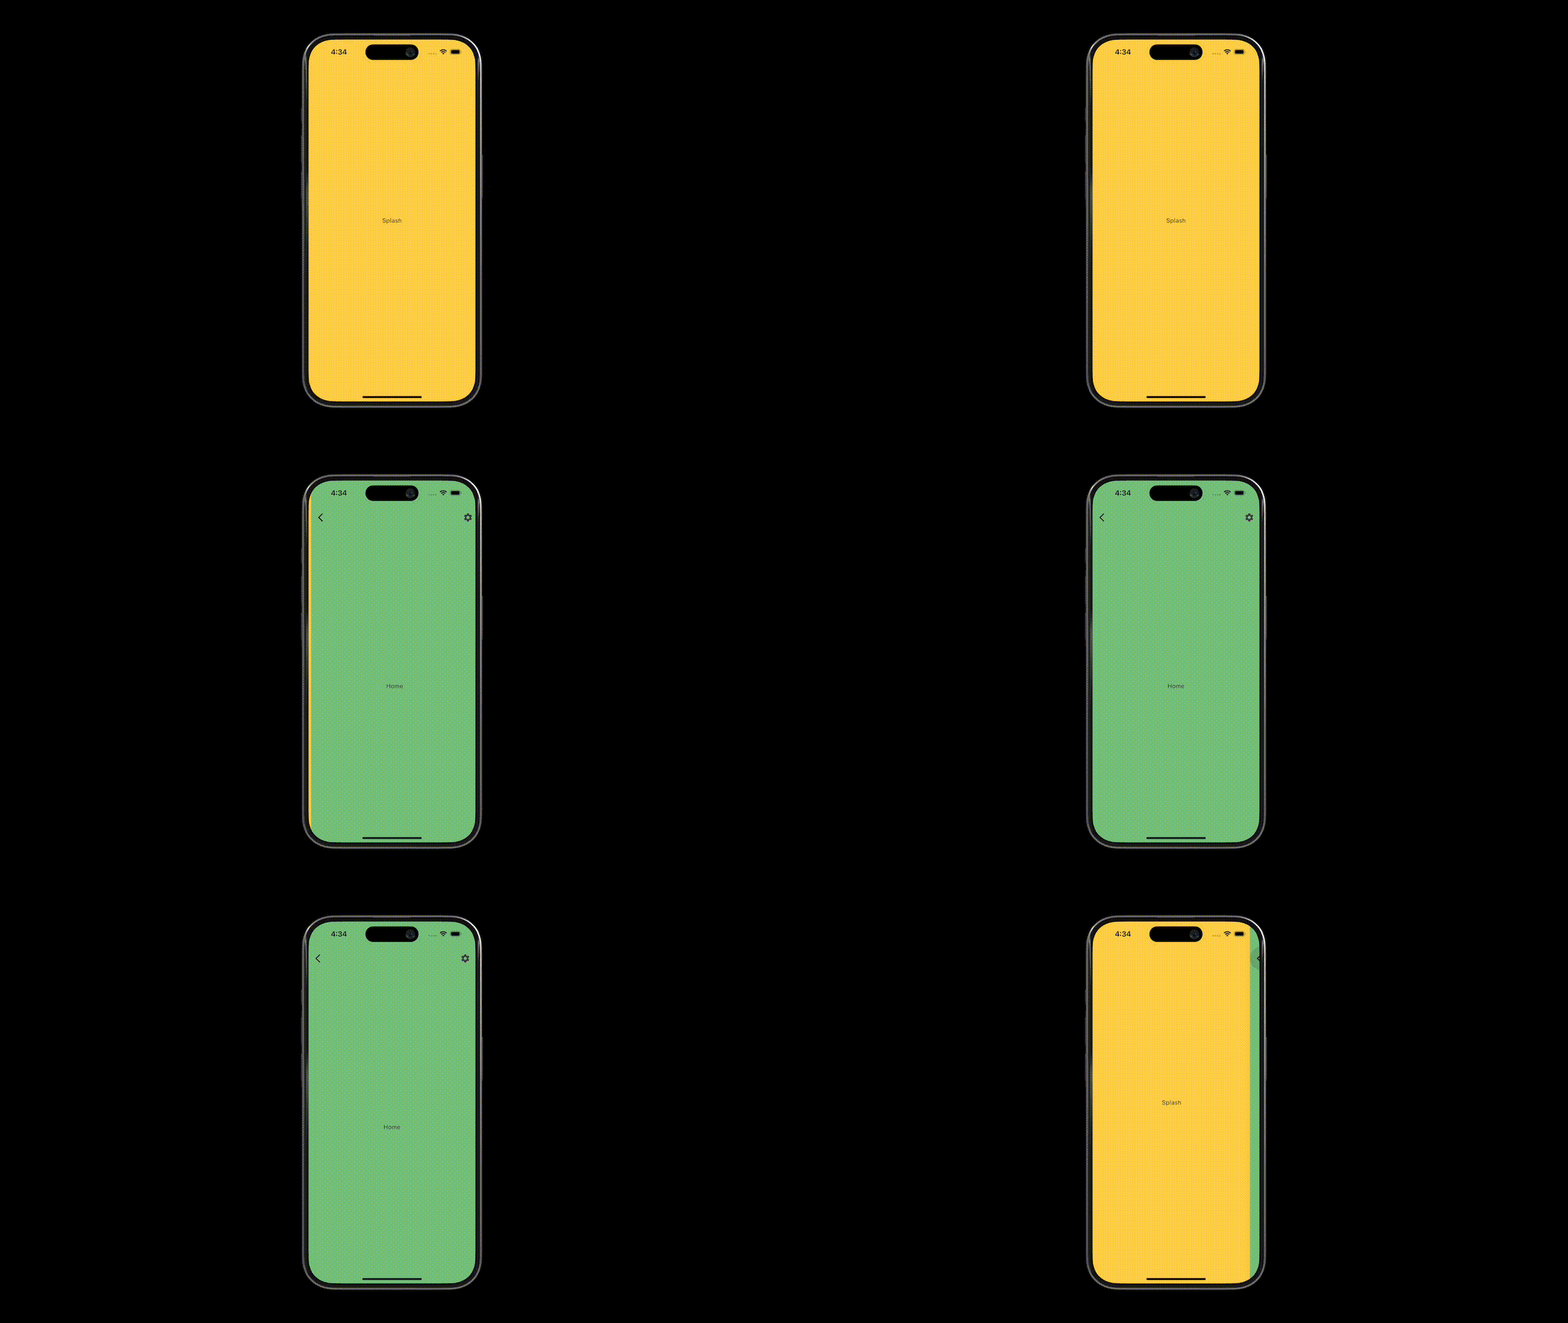
But splash screens are not supposed to be viewable again after being shown to the users. For use cases like this, we should use context.go().
Using context.go()
The difference between context.go() and context.push() is that context.go() clears the stack of screens while context.push() does not.
In our example, since we want to clear the SplashScreen after navigating out of it, then we should be using context.go('/home') instead.
// splash_screen.dart

import 'package:flutter/material.dart';
import 'package:go_router/go_router.dart';

class SplashScreen extends StatelessWidget {
  const SplashScreen({super.key});

  @override
  Widget build(BuildContext context) {
    return TapRegion(
      onTapInside: (event) {
        context.go('/home'); // << Use 'go' in here instead of 'push'.
      },
      child: Scaffold(
        body: Container(
          color: Colors.amber[300],
          child: const Center(
            child: Text('Splash'),
          ),
        ),
      ),
    );
  }
}
Running this change should not let you go back to the previous screen.
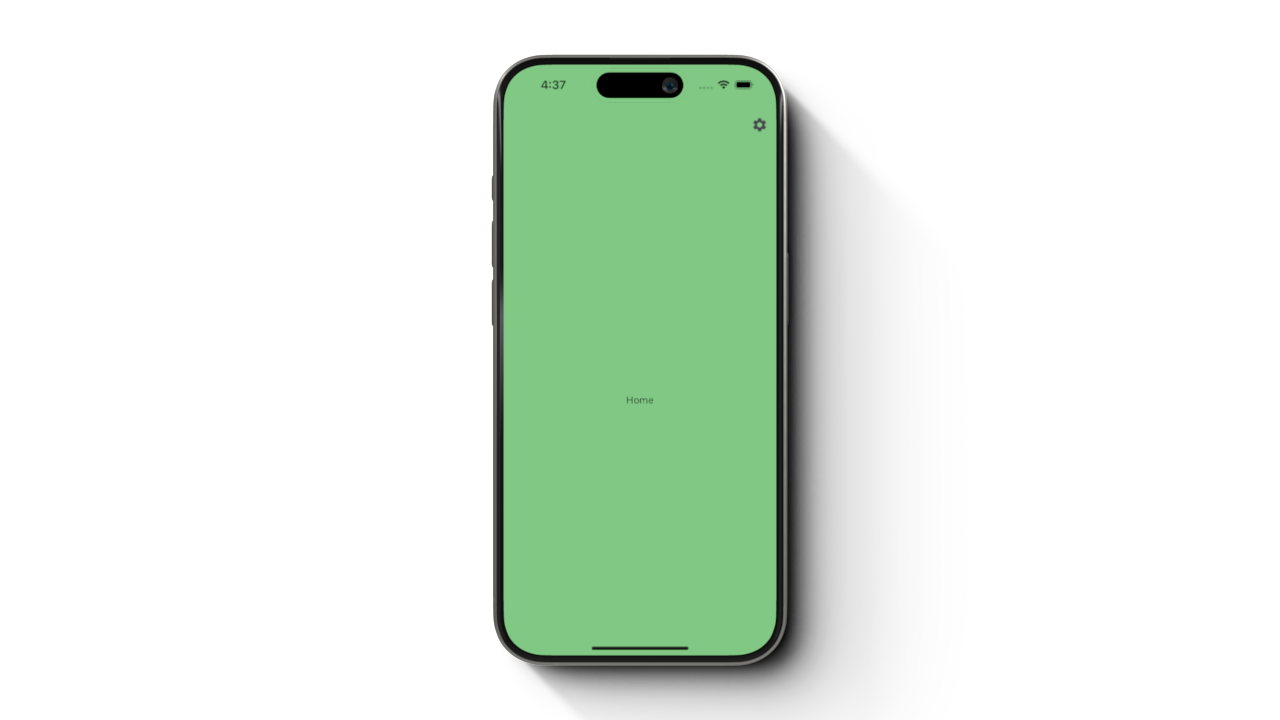
context.go().Note that the leadingWidget of the AppBar disappears as MaterialApp knows that there's no screen to come back to when using context.go().
Going back to the previous screen
Let's complete the app by adding an option to navigate to the SettingsScreen from the HomeScreen. This time, we should be able to go back to the previous screen.
Add the context.push() to the onPressed callback of the settings icon of HomeScreen.
//home_screen.dart

import 'package:flutter/material.dart';
import 'package:go_router/go_router.dart';

class HomeScreen extends StatelessWidget {
  const HomeScreen({super.key});

  @override
  Widget build(BuildContext context) {
    return Scaffold(
      appBar: AppBar(
        backgroundColor: Colors.green[300],
        actions: [
          IconButton(
            onPressed: () {
              context.push('/settings');
            },
            icon: const Icon(Icons.settings),
          )
        ],
      ),
      body: Container(
        color: Colors.green[300],
        child: const Center(
          child: Text('Home'),
        ),
      ),
    );
  }
}
To go back to the previous screen, we can either use a swipe-back gesture or tap the back button similar to Video 1. You can also do this programmatically using the context.pop() button.
Make sure that there is someplace to go back to. It means that the current screen should have been navigated by using context.push().
// settings_screen.dart

import 'package:flutter/material.dart';
import 'package:go_router/go_router.dart';

class SettingsScreen extends StatelessWidget {
  const SettingsScreen({super.key});

  @override
  Widget build(BuildContext context) {
    return Scaffold(
      body: Container(
        color: Colors.blue[300],
        child: Center(
          child: Column(
            mainAxisSize: MainAxisSize.max,
            mainAxisAlignment: MainAxisAlignment.center,
            children: [
              const Text('Settings'),
              OutlinedButton(
                onPressed: () {
                  context.pop(); // << Add this
                },
                child: const Text('Go Back'),
              )
            ],
          ),
        ),
      ),
    );
  }
}
If we run the app, we should see the expected behaviour of the navigation. The SplashScreen should only be displayed once and not be navigated back again. HomeScreen should be able to open the SettingsScreen and go back.
Passing parameters
With go_router, we can pass parameters when navigating to different screens. There are different ways to do this.
Path parameters
Using path parameters is a straightforward way of passing data from one screen to another. This is done by appending a path variable to our path.
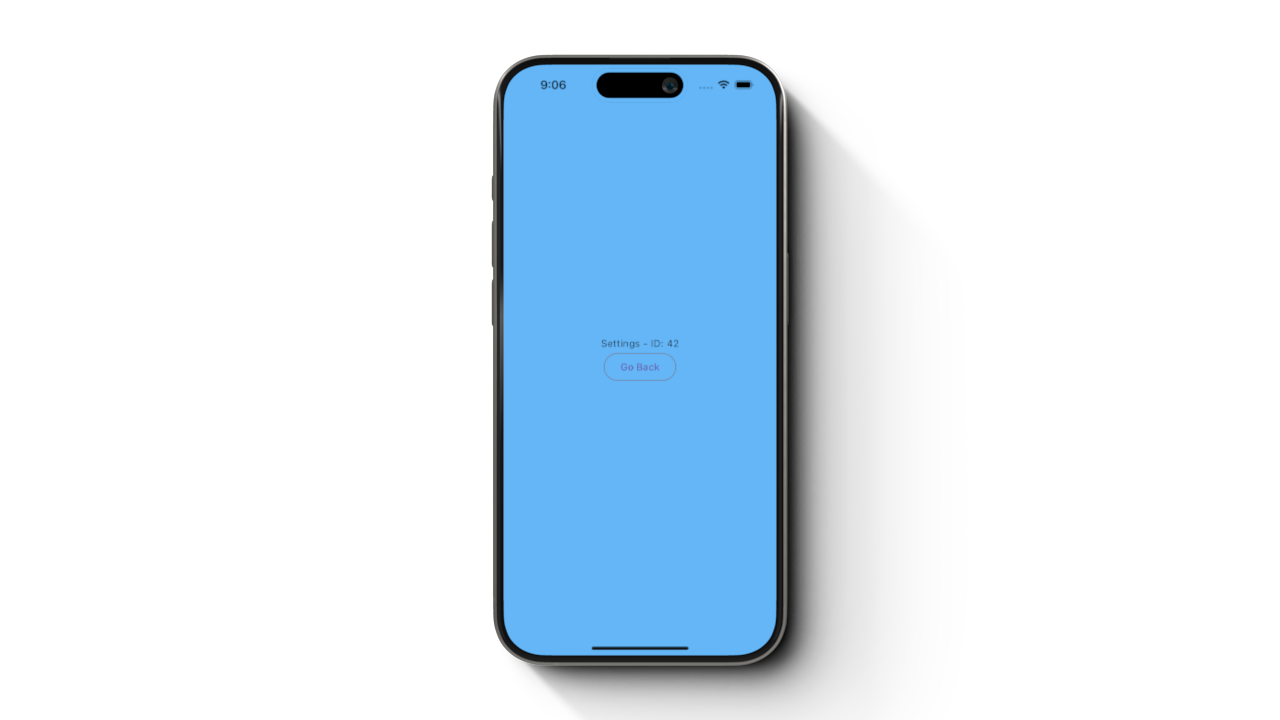
Say we want to pass an ID from HomeScreen to the SettingsScreen. We can achieve this by adding a :id variable to our path in our routerConfig. Let's also update HomeScreen to pass a value for the id (e.g. 42). Finally, we also update SettingsScreen to accept an id String value and display it once loaded.
//part of router_config.dart

GoRoute(
   path: '/settings/:id',
   builder: (context, state) {
     final id = state.pathParameters['id'] ?? '';
     return SettingsScreen(
       id: id,
     );
   },
),
// part of home_screen.dart

IconButton(
	onPressed: () {
		context.push('/settings/42');
	},
	icon: const Icon(Icons.settings),
)
// settings_screen.dart

import 'package:flutter/material.dart';
import 'package:go_router/go_router.dart';

class SettingsScreen extends StatelessWidget {
  const SettingsScreen({super.key, required this.id});

  final String id;

  @override
  Widget build(BuildContext context) {
    return Scaffold(
      body: Container(
        color: Colors.blue[300],
        child: Center(
          child: Column(
            mainAxisSize: MainAxisSize.max,
            mainAxisAlignment: MainAxisAlignment.center,
            children: [
              Text('Settings - ID: $id'),
              OutlinedButton(
                onPressed: () {
                  context.pop();
                },
                child: const Text('Go Back'),
              )
            ],
          ),
        ),
      ),
    );
  }
}
To get the value of the parameter from the path, we use the state parameter of the GoRoute builder function. This GoRouterState has a property called pathParameters which returns a map of parameters. In our example, we use id to retrieve this value.
Query parameters
We can also use query parameters for passing data between screens. The approach however is different with path parameters. With query parameters, we do not need to update the path of a GoRoute. Instead, we can just check whether there is a value passed with a given key using uri.queryParameters.
Using our current example, let's include a query parameter called queryParam when navigating to SettingsScreen.
//part of home_screen.dart

IconButton(
  onPressed: () {
	context.push('/settings/42?queryParam=mango');
  },
  icon: const Icon(Icons.settings),
)
//part of router_config.dart

GoRoute(
	path: '/settings/:id',
	builder: (context, state) {
		final id = state.pathParameters['id'] ?? '';
		final queryParam = state.uri.queryParameters['queryParam'];
		return SettingsScreen(
      id: '$id $queryParam',
		);
	},
),
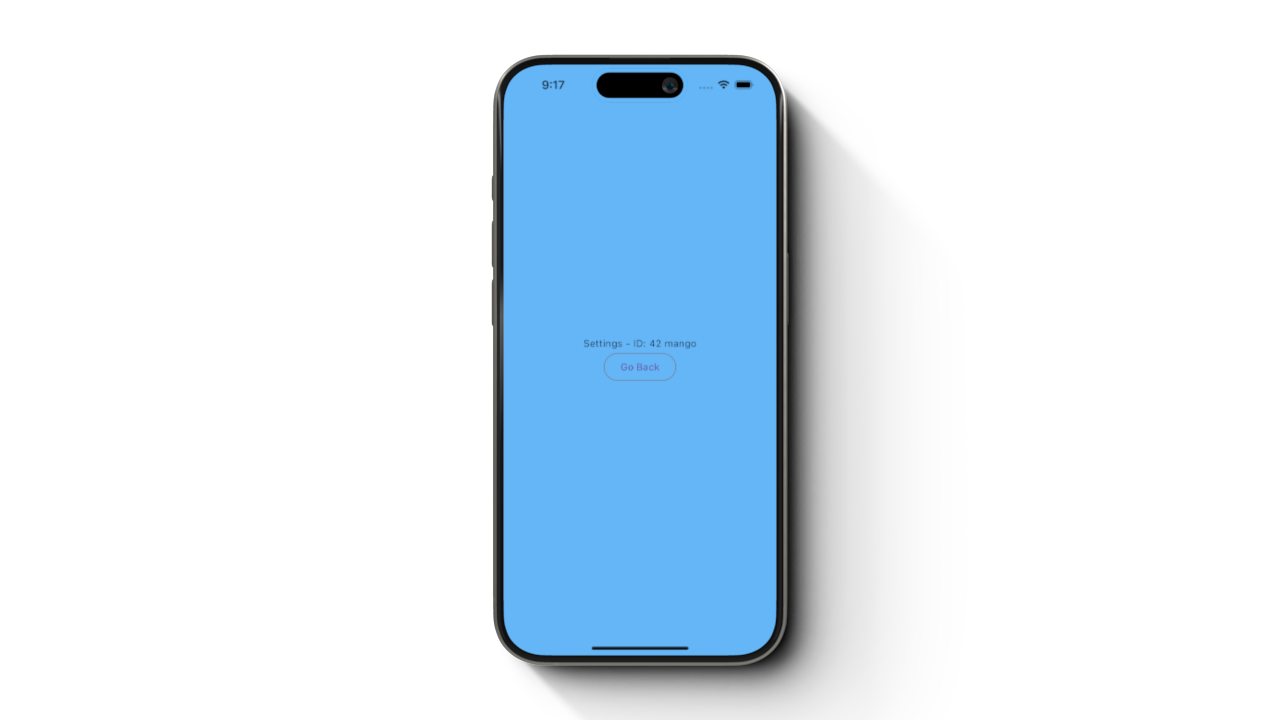
With this update, we should see the queryParam with the value mango.
Object parameter
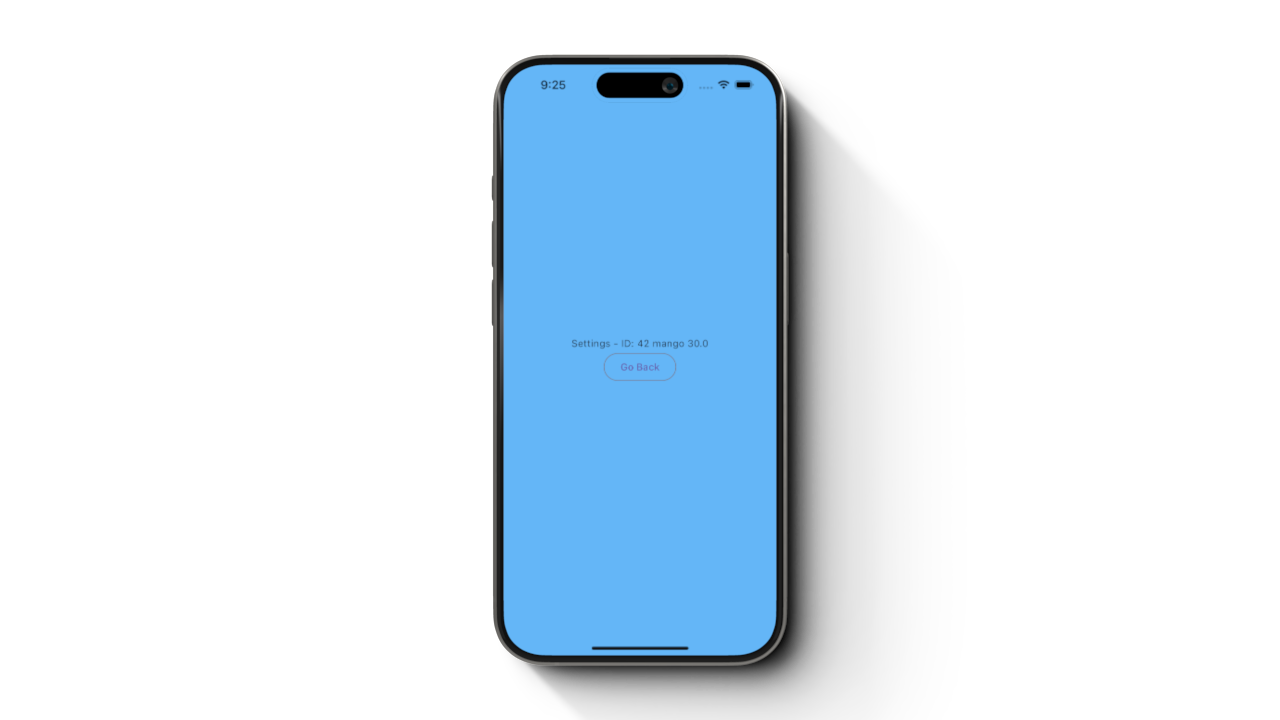
It is best practice to only pass data between screens using data type String. However, if your app requires passing an object, you can use the extra argument when navigating to another screen.
//part of home_screen.dart

IconButton(
  onPressed: () {
    context.push(
      '/settings/42?queryParam=mango',
      extra: 30.0, // << Extra object
    );
  },
  icon: const Icon(Icons.settings),
)
//part of router_config.dart

GoRoute(
	path: '/settings/:id',
	builder: (context, state) {
		final id = state.pathParameters['id'] ?? '';
		final queryParam = state.uri.queryParameters['queryParam'];
    final value = state.extra as double; // << Cast the extra with the right class
    return SettingsScreen(
    	id: '$id $queryParam $value',
    );
  },
),
Conclusion
That's all the basic things that you need to learn in order to start using go_router as your navigation library. There are many other features that can be used from this library such as ShellRoutes for multiple navigation trees, as well as custom animations in-between screens.
