How to use PageView in Flutter
Learn how to use PageView in Flutter to display sliding screens and pages.


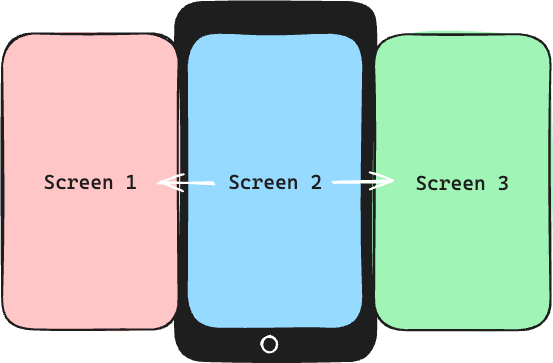
There are many ways to display content in a mobile app. One of the most popular approaches to show tabs and pages in Flutter is to use the PageView widget.
The PageView widget allows us to display sliding and swipeable pages in our Flutter app. This is usually used to display multiple pages where we display one screen at a time. This ranges from viewing full-screen photos to watching short videos one at a time.
Simple PageView example
Let's start with a simple example of using PageView. Let's say we have a photo gallery app where we can view different photos. Using PageView is a perfect approach to display these photos one at a time. Let's use a Container with different colours to represent a photo.
import 'package:flutter/material.dart';

class PageViewScreen extends StatelessWidget {
  const PageViewScreen({
    super.key,
  });

  @override
  Widget build(BuildContext context) {
    return Scaffold(
      body: PageView(
        children: [
          Container(
            color: Colors.red,
          ),
          Container(
            color: Colors.green,
          ),
          Container(
            color: Colors.blue,
          ),
          Container(
            color: Colors.black,
          ),
        ],
      ),
    );
  }
}
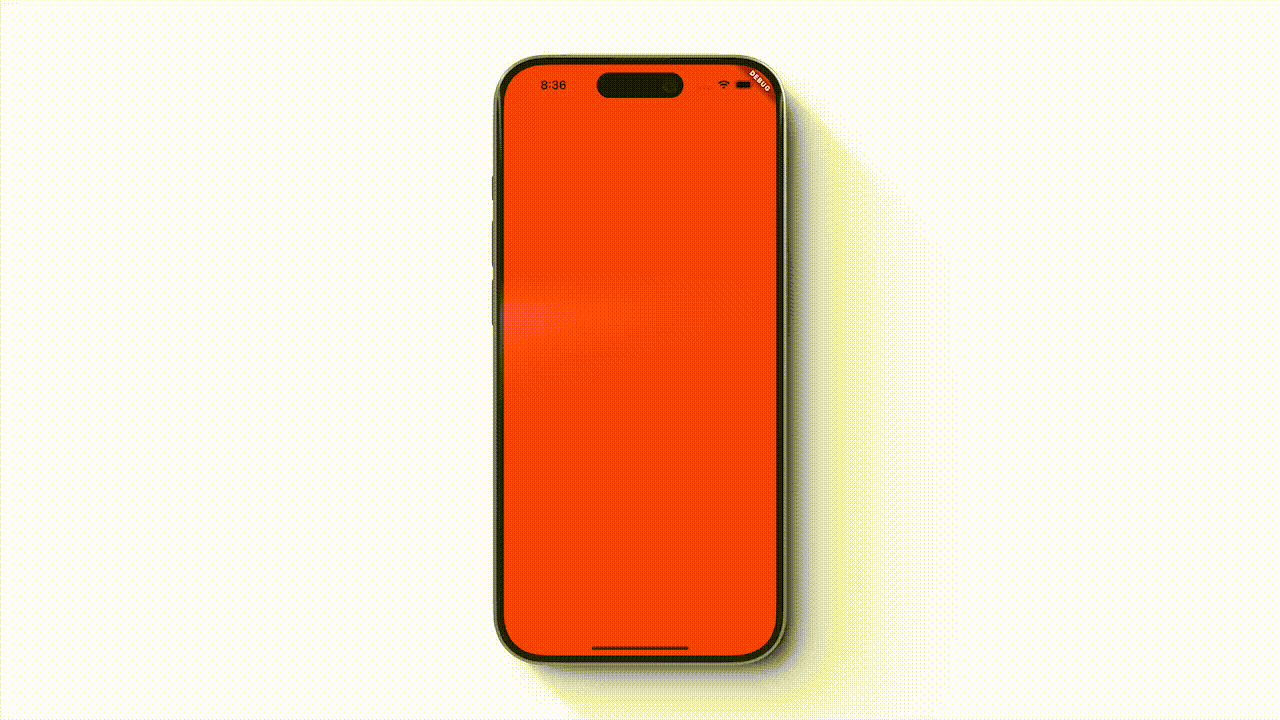
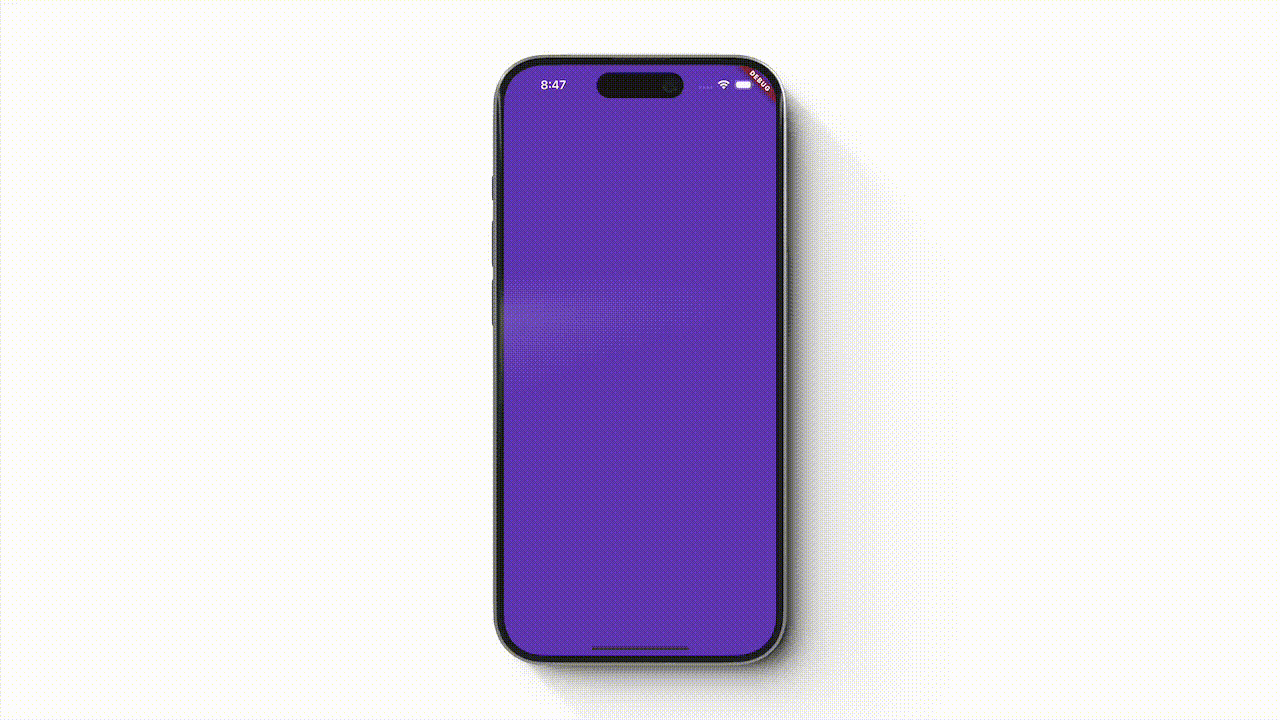
In this example, we have four swipeable screens of different colours. We define them in the children parameter of PageView. Running this code will look something like this.
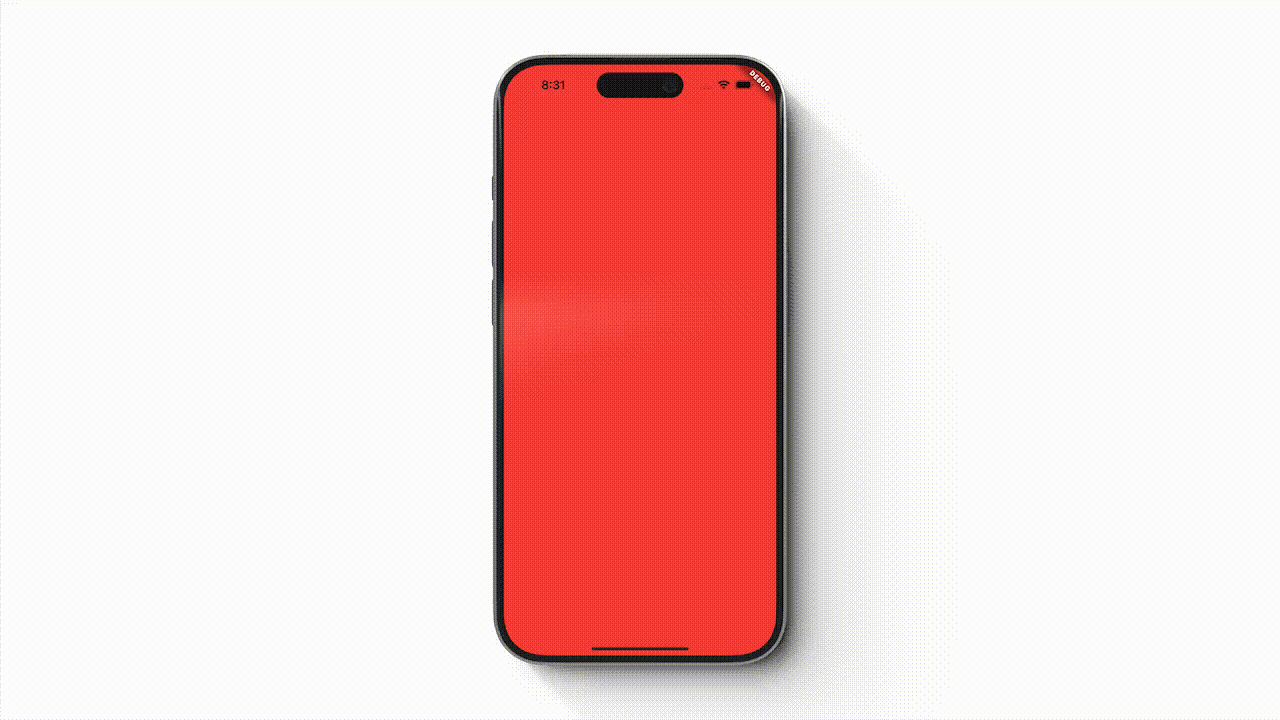
PageView.You can also change the direction of the swipe by changing the property scrollDirection to Axis.vertical.
import 'package:flutter/material.dart';

class PageViewScreen extends StatelessWidget {
  const PageViewScreen({
    super.key,
  });

  @override
  Widget build(BuildContext context) {
    return Scaffold(
      body: PageView(
        scrollDirection: Axis.vertical,
        children: [
          Container(
            color: Colors.red,
          ),
          Container(
            color: Colors.green,
          ),
          Container(
            color: Colors.blue,
          ),
          Container(
            color: Colors.black,
          ),
        ],
      ),
    );
  }
}
PageView.Using PageView with a dynamic number of pages
In our previous example, we already know the number of screens that our PageView will display. In real apps, it is common to display an unknown number of screens such as full-screen photos or content that your app gets remotely.
To display an unknown number of items, we should use PageView.builder and the itemBuilder instead of the children property. For this example, this will be an infinite amount of pages that show random colours every time the PageView builds the screen.
import 'dart:math';

import 'package:flutter/material.dart';

class PageViewScreen extends StatelessWidget {
  const PageViewScreen({
    super.key,
  });

  @override
  Widget build(BuildContext context) {
    return Scaffold(
      body: PageView.builder(
        itemBuilder: (context, index) {
          return Container(
            color: Colors.primaries[Random().nextInt(Colors.primaries.length)],
          );
        },
      ),
    );
  }
}
PageView.If we know beforehand the number of items that we want to display, we can use the itemCount parameter so that the PageView will stop building new pages past that count.
In the next example, let's pretend that we're getting the "photos" from an API. Once we get these items, we'll use the itemBuilder's index to build the page with the correct content. We also set the itemCount based on the number of items we get.
import 'package:flutter/material.dart';

class PageViewScreen extends StatelessWidget {
  const PageViewScreen({
    super.key,
  });

  @override
  Widget build(BuildContext context) {
    final colors = _photosRepository();
    return Scaffold(
      body: PageView.builder(
        itemCount: colors.length,
        itemBuilder: (context, index) {
          return Container(
            color: colors[index],
          );
        },
      ),
    );
  }

  List<Color> _photosRepository() {
    return const [
      Colors.red,
      Colors.green,
      Colors.blue,
      Colors.black,
    ];
  }
}
With these changes, the app would look the same as Video 1.
Navigating to different pages using PageController
Now that we know the basics of using a PageView, we can now proceed on learning how to have more control over it. With PageController, we can programmatically move from one page to another without swiping the widget. To illustrate this feature, we will add a left and right buttons on the app and programmatically move the pages.
For this example, I have to convert our PageViewScreen to be a StatefulWidget as we need to keep a reference to our PageController.
import 'package:flutter/cupertino.dart';
import 'package:flutter/material.dart';

class PageViewScreen extends StatefulWidget {
  const PageViewScreen({
    super.key,
  });

  @override
  State<PageViewScreen> createState() => _PageViewScreenState();
}

class _PageViewScreenState extends State<PageViewScreen> {
  late PageController _pageController;

  @override
  void initState() {
    _pageController = PageController();
    super.initState();
  }

  @override
  void dispose() {
    _pageController.dispose();
    super.dispose();
  }

  @override
  Widget build(BuildContext context) {
    final colors = _photosRepository();
    return Scaffold(
      body: Stack(
        children: [
          PageView.builder(
            controller: _pageController,
            itemCount: colors.length,
            itemBuilder: (context, index) {
              return Container(
                color: colors[index],
              );
            },
          ),
          Align(
            alignment: Alignment.centerLeft,
            child: IconButton(
              onPressed: () {
                _pageController.previousPage(
                  duration: const Duration(milliseconds: 250),
                  curve: Curves.easeIn,
                );
              },
              icon: const Icon(
                CupertinoIcons.chevron_left,
                size: 32.0,
              ),
            ),
          ),
          Align(
            alignment: Alignment.centerRight,
            child: IconButton(
              onPressed: () {
                _pageController.nextPage(
                  duration: const Duration(milliseconds: 250),
                  curve: Curves.easeIn,
                );
              },
              icon: const Icon(
                CupertinoIcons.chevron_right,
                size: 32.0,
              ),
            ),
          ),
        ],
      ),
    );
  }

  List<Color> _photosRepository() {
    return const [
      Colors.red,
      Colors.green,
      Colors.blue,
      Colors.black,
    ];
  }
}
I added the two buttons by wrapping the PageView under a Stack and aligning the buttons to centre left and right. If we want to navigate the screens to the previous or next page, we can use the previousPage() and nextPage() accordingly.

PageController.Calling these two methods requires a Duration and Curve arguments as PageController will animate the transition. You can also use animateToPage() if you know specifically which screen you want to navigate to. And if you want to set the page without animation, you can use the jumpToPage() method of the controller.
Conclusion
The PageView widget offers an alternative way of displaying content in your app. With PageView, you can choose whether the pages are swipeable from left to right or top to bottom.
PageView also lets you add more controls by using PageController, as well as different options in building your pages depending on the number of items that you have.